Webflow’s editor mode is one of the platform’s most client-friendly features, allowing you to easily update your website content without touching the design or code. But while it’s intuitive and powerful, new users should understand a few key details before jumping in. As a Webflow agency, we always guide clients through the editing experience to ensure they can confidently manage their content without accidentally breaking their layout or SEO. In this post, we’ll walk you through everything you need to know before using Webflow Editor, so you can get the most out of your new site.

Webflow Editor is a simplified interface that allows clients to:
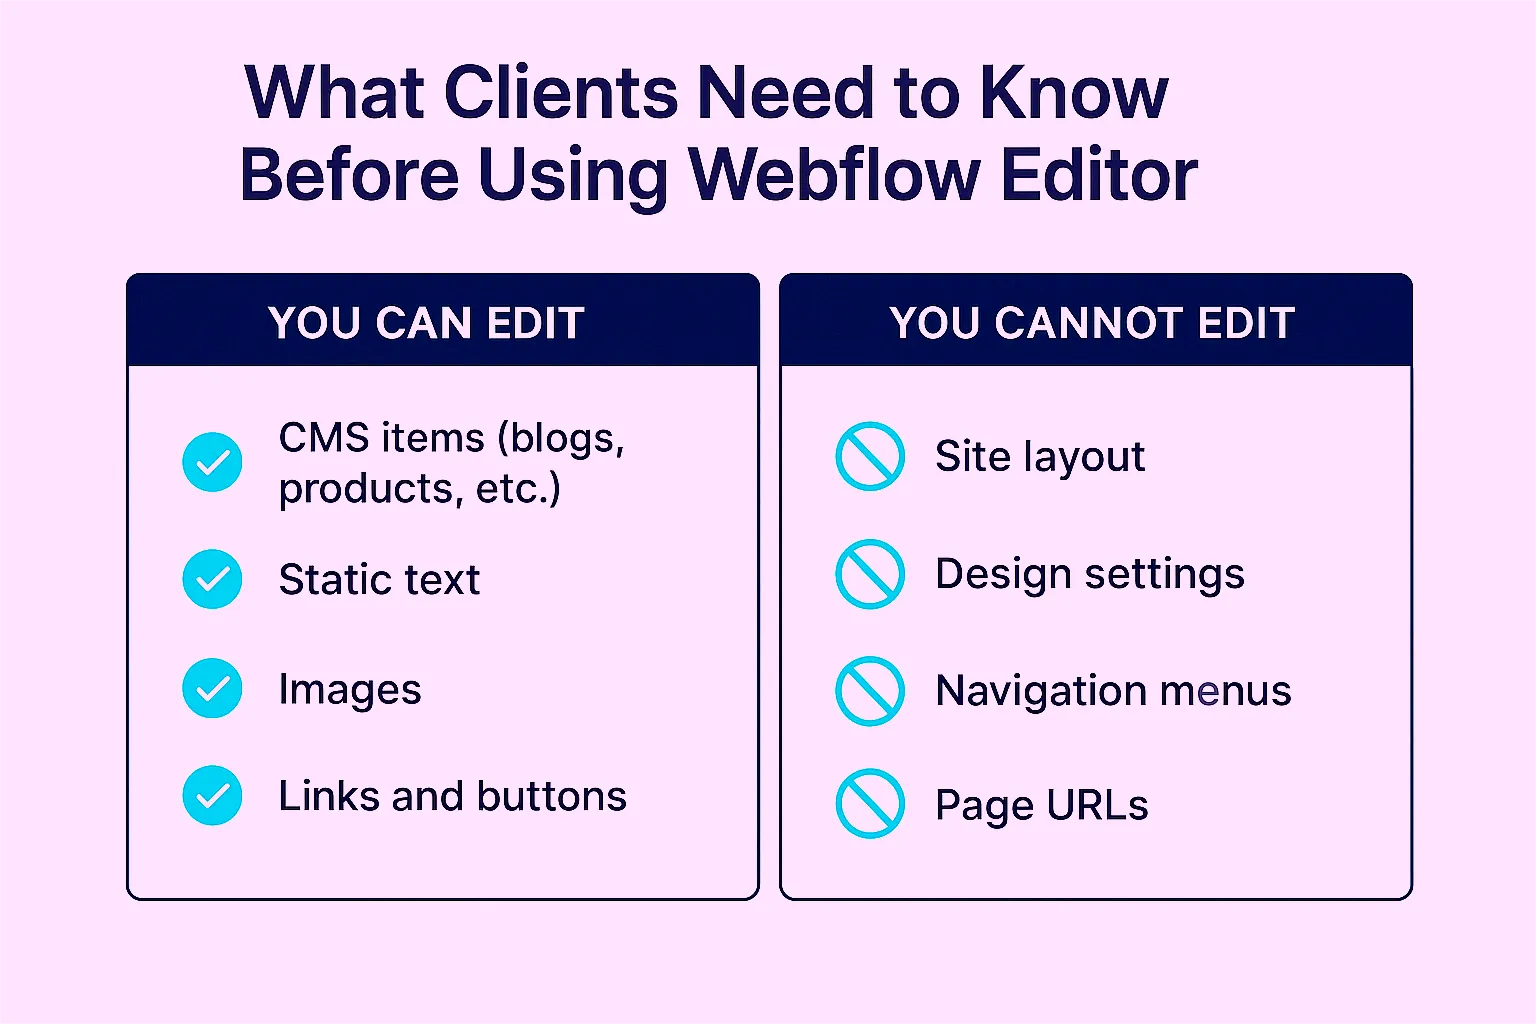
You won’t have access to the structure, layout, or code, just the content. This means it’s safe for clients to use without the risk of “breaking the site.”
You CAN edit:
You CANNOT edit:
Always review your CMS structure with your agency before making major content changes.

If your site includes dynamic content like blogs, projects, testimonials, or team biographies, it’s probably powered by Webflow CMS. Here’s what you need to know:
When changes are made, you’ll see a “Publish” button in the top right corner. You can:
Webflow publishes your entire website, not just the page you edited. So it’s best to group multiple changes and publish all at once.
While Webflow gives you control over meta titles, descriptions, and tags (in CMS items), keep the following in mind:
To keep your content fresh and organized, we recommend:
With Editor, there’s no excuse for outdated bios, broken links, or stale blog pages.
Webflow’s editor provides clients with a simple, secure, and visual way to manage content without relying on developers. But like any tool, it’s best used with a little guidance and structure.
Once you understand how CMS collections work, what you can safely edit, and how to maintain SEO, the editor becomes a powerful tool for keeping your site fresh, relevant, and effective.